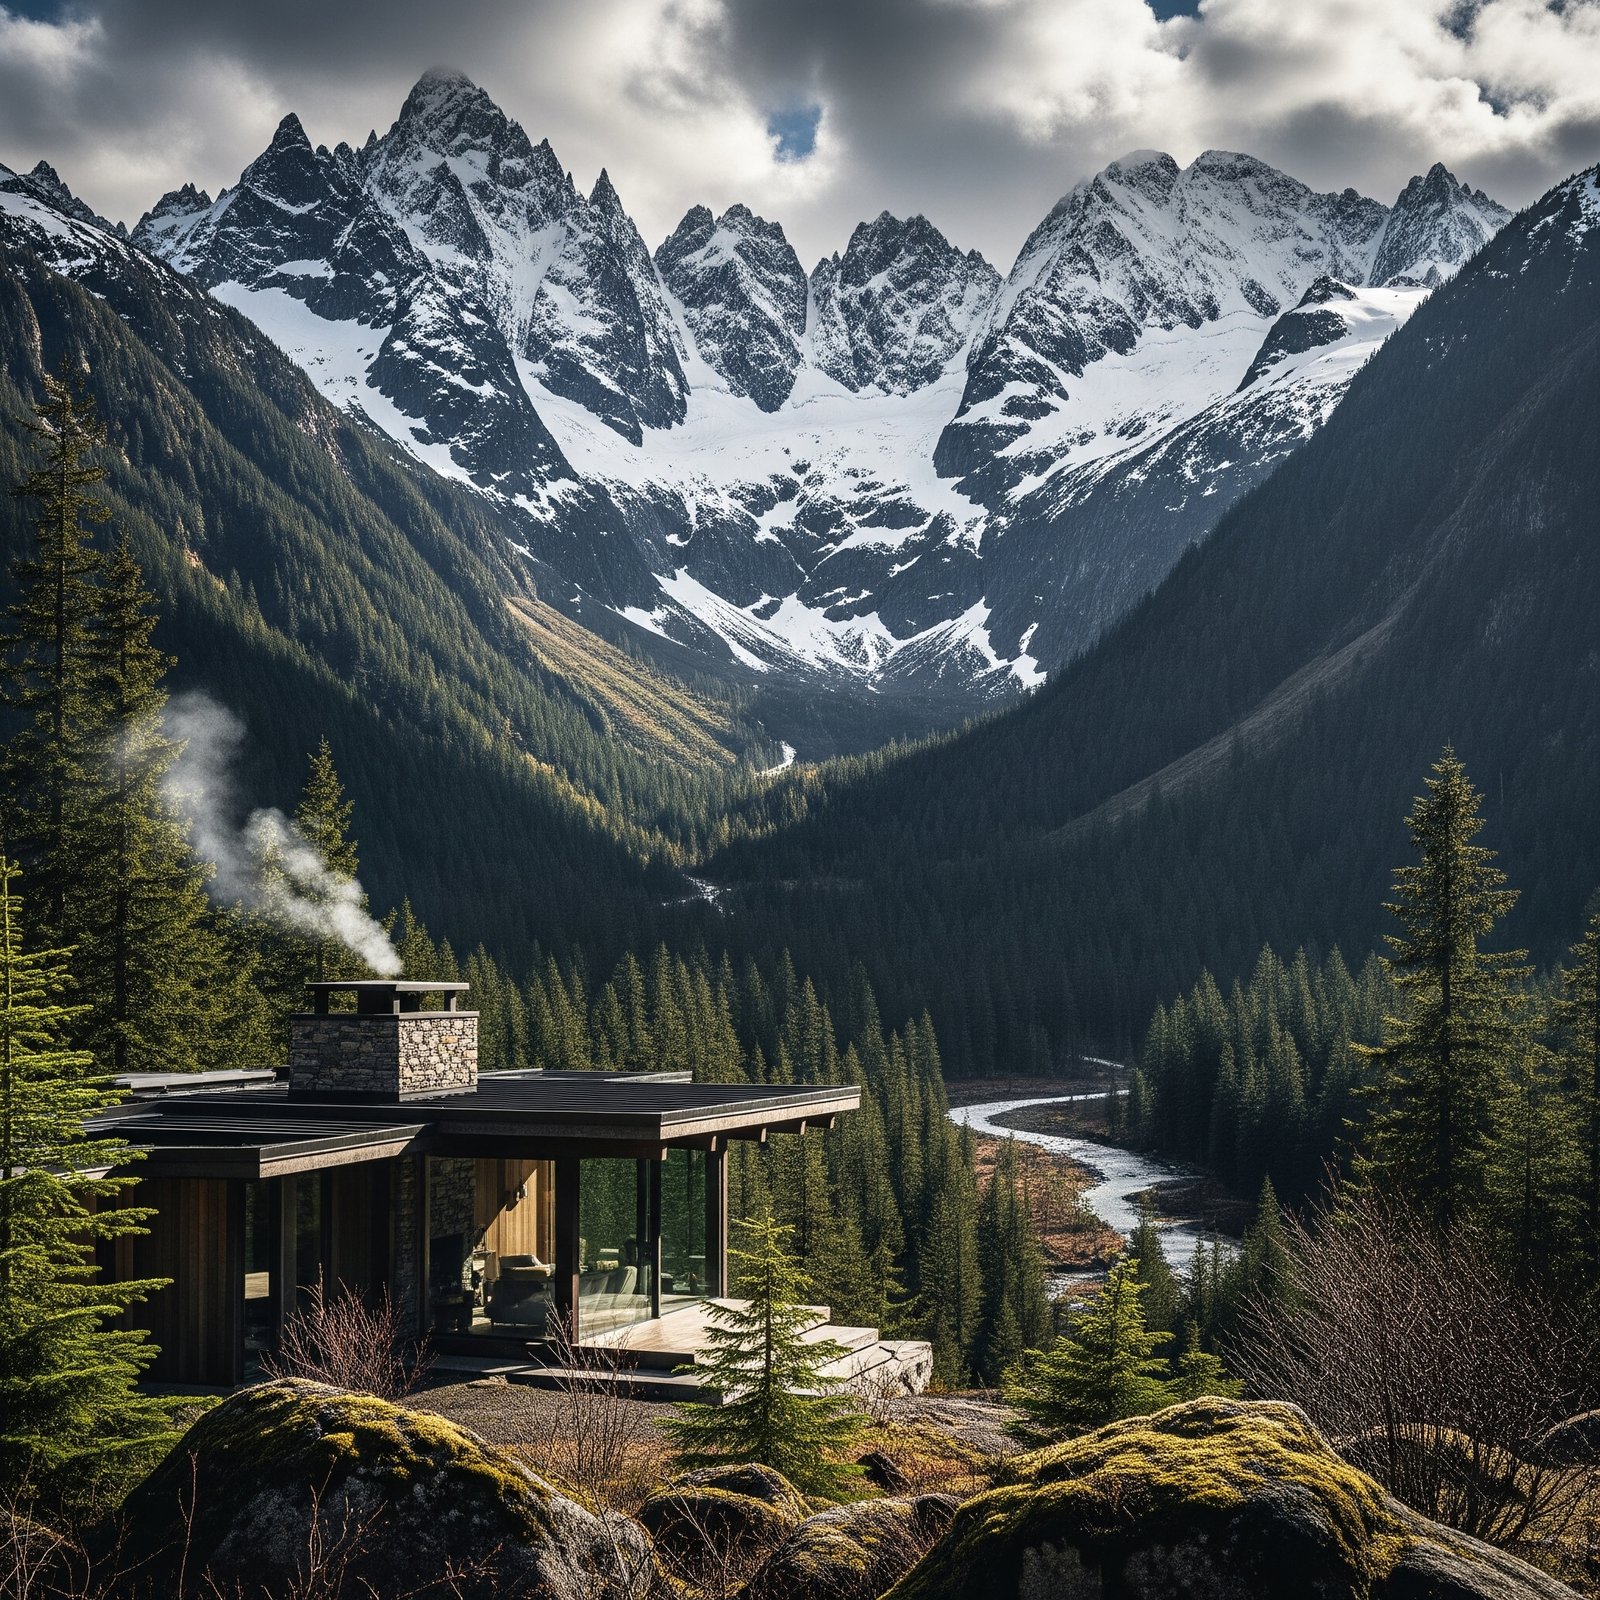
Some DIY stone patio projects can cost around $400 and takes 8 hours to complete. More homeowners are building patios to create functional outdoor spaces where they can relax and entertain. This modest investment improves property value by a lot.
Patios are outdoor structures that feature level surfaces and open sides. Most people build them using stone, brick, or concrete. The construction starts with proper site preparation. You’ll need to remove existing grass and dig the area to the right depth. Homeowners can choose from various materials like concrete pavers, brick, flagstone, and wood. Each material comes with its own benefits and limitations.
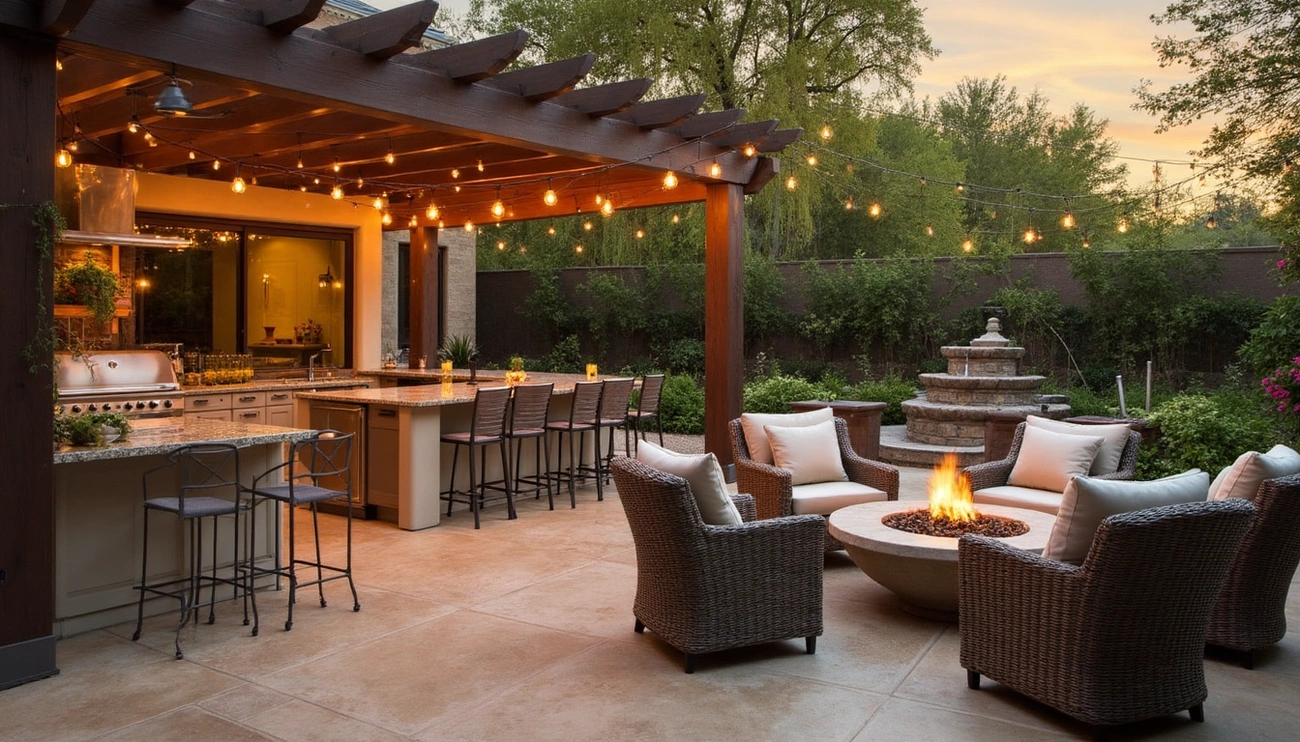
Smart design choices can turn a simple patio into a detailed outdoor living space. Adding an outdoor grill or kitchen setup lets you cook while spending time with guests. The right landscape lighting creates a welcoming atmosphere and makes backyard features stand out. Your patio becomes useful even after dark.
Building a patio is a rewarding project that adds value to your home. It creates an inviting outdoor space you’ll enjoy for years. This guide will help beginners install the perfect patio step by step.
Plan Your Patio Project
A full picture of your patio installation project starts with proper planning. You’ll save money, effort, and avoid headaches by planning before you buy materials or break ground. Let’s break down the key steps that will give a patio perfect for your lifestyle and property.
Choose the right location and size
Your patio’s location greatly impacts how much you’ll use it and how well it works. Placing dining areas close to your kitchen makes access convenient. The best spot depends on sun exposure, drainage patterns, and your current landscaping.
The size you need depends on what you plan to do there. A dining area for four people needs about 10×10 feet, while six to eight people need at least 12×12 feet. Fire pit areas should have a 15-foot diameter circle to keep chairs from tipping onto grass or garden beds.
To figure out the size:
- Rope off the area or mark it with chalk to test dimensions
- Put actual furniture (or similar items) in the space
- Plan 2 feet square per outdoor chair plus 1-2 feet for pushing back from tables
- Keep pathways between areas 3-4 feet wide
Check local building codes and permits
You need to check local building codes and get necessary permits before construction begins. Most areas have specific rules about structural integrity and drainage for patios. Not getting proper permits could lead to fines or problems down the road.
Many cities limit “impervious surfaces” – areas where water can’t soak in – to 60% of your property. This includes your house, driveway, and other paved areas. These rules might affect how big your patio can be.
Special features like fire pits might need extra permits based on their size. A quick chat with local authorities before finalizing plans will help your project meet all legal requirements.
Sketch your layout and design
A detailed sketch acts as your visual guide throughout the project. Start by measuring your space carefully. Note the length, width, and any features like doors, windows, or trees. Then map out specific activities for different parts of your patio.
Larger patios work better when divided into distinct “rooms” for different uses instead of one big space. You can separate areas with planters, trellises, or different decking patterns. Your patio doesn’t need to be rectangular – unique shapes often use space more efficiently.
The design should account for furniture placement and traffic flow. People need space to pull chairs back and walk around seated guests. Drawing furniture dimensions right on your plan helps ensure enough room for comfortable movement.
Gather Tools and Materials
You need the right tools and materials to build a great-looking patio. DIYers with proper equipment can create professional results and save thousands compared to contractor costs.
Everything in patio construction tools
Your patio project needs simple hand tools and specialized equipment. Quality gloves, safety glasses, and ear protection should be your first investment. These safety items will protect you from injuries when you handle sharp-edged pavers and operate power equipment.
You’ll need these items to excavate and prepare the base:
- Tape measure and carpenter’s level
- Flat shovel and wheelbarrow
- Rake for spreading gravel
- Tamper or plate compactor
- String line with level
A rubber mallet helps set pavers, screed boards level the sand, and you’ll need a paver splitter or saw to cut stones. Renting specialized tools like plate compactors ($100 per day) and paver saws makes sense for one-time projects. Buying simple tools will give you long-term value.
Choosing between pavers, bricks, or flagstone
Your choice of materials will affect both looks and budget by a lot. Concrete pavers give modern versatility at $8-$15 on average per square foot installed. These pavers combine concrete and mineral aggregate to interlock well and last long.
Brick pavers create a classic look at $10-$20 on average per square foot installed. They resist staining and fading better than concrete, though they cost more.
Natural flagstone (including slate, limestone, and bluestone) adds unique character but runs $15-$50 per square foot installed. Each stone needs custom fitting, which makes installation take longer.
Estimating material quantities
Good material calculations help avoid wasted money. The foundation needs 6 inches of compacted gravel base with 1 inch of leveling sand on top. Interlocking paver base panels need less digging and sand.
Calculate paver quantities by measuring your patio’s dimensions and dividing by each paver’s size. Add 5-10% extra for cuts and breakage. A 50-pound bag of polymeric sand usually covers 25-50 square feet depending on joint width.
Your project’s success depends on accurate estimates. Calculate all materials needed before buying to avoid delays that can get pricey.
Step-by-Step Patio Installation
Your patio installation journey starts after planning and gathering materials. Building a lasting, beautiful patio requires proper technique and attention to detail.
1. Mark and excavate the area
Stakes and string help create clear boundaries around your patio perimeter. Most patios need an 8 to 9-inch deep excavation for pavers set on sand and gravel bases. The space should fit all materials: 4-6 inches of gravel base, 1 inch of sand, and your paver thickness. The site needs a 1-inch drop every 4 feet away from your house to ensure proper drainage.
2. Add landscape fabric and base layer
Some conditions make landscape fabric valuable, though it isn’t always needed. Unstable or flood-prone soil benefits from fabric placement. The best results come from laying fabric over compacted subsoil before adding gravel. The base requires crushed stone in 2-3 inch layers. Each layer needs wetting and compacting until you achieve a 6-inch base. A plate compactor should run over each layer to create a solid foundation – this step is vital.
3. Level the sand and lay pavers
PVC pipes (1-inch diameter) serve as guides across your compacted base. A 1-inch layer of coarse sand goes between the pipes. A straight 2×4 board helps screed (level) the sand across the pipes. Fill gaps with extra sand after removing pipes. Pavers should be set straight down into the sand without dragging, creating snug fits.
4. Fill joints with polymeric sand
The surface needs polymeric sand swept over it once all pavers are set. A push broom works the sand into joints. The sand’s binding agents lock pavers together and resist heavy rain. It also stops weeds and prevents ant problems. Joint filling should stop about 1/8 inch below the paver surface to avoid foot traffic contact.
5. Compact and seal the surface
A plate compactor needs two passes over the patio – the second at an angle to the first. This levels the surface and pushes sand into joints. The excess sand should be swept away before activating the polymeric sand with water. Use a garden hose on “shower” setting. Water application continues until it pools and the sand repels it. You can add protection against stains and improve color with optional sealing.
Finishing Touches and Maintenance
Your completed patio installation opens up possibilities to create an inviting outdoor living space that stays beautiful year after year. A well-decorated and properly cared-for patio helps protect your investment through every season.
Add furniture and decor
The new patio can revolutionize into an outdoor living room with the right furnishings and decorative elements. Your patio works best as an extension of your home—another room that needs thoughtful design. Outdoor furniture sets create a unified look that works especially well in outdoor environments which tend to be more “wild” than interior spaces.
Matching sets look great, but you should mix in non-matching pieces like coffee tables, accent chairs, or colorful pillows to add visual interest. A durable area rug helps define the space while adding comfort and style. Striped canopies can act as makeshift ceilings, and fresh flower arrangements with tapered candles lift outdoor tablescapes beautifully.
Tips for seasonal maintenance
Your patio will last longer with regular maintenance. The patio needs weekly sweeping during spring and summer to prevent dirt buildup. Spills should be cleaned right away with mild dish soap and water to avoid staining. Tough grease stains need the cleaning solution to sit 20-30 minutes before you scrub with a nylon brush.
Quick removal of leaves and debris prevents organic staining in fall. Warmer climates need less preparation, but elsewhere you should:
- Store cushions and rugs indoors
- Cover or store furniture in garages or sheds
- Remove snow with plastic shovels instead of metal tools to prevent scratches
At the time to reseal or repair your patio
Paver sealers typically last 3-5 years, depending on cleaning frequency, sun exposure, rainfall, and foot traffic. You’ll know it’s time to reseal when you notice these signs:
A simple water test tells you a lot—beading water means your sealer works fine, all the same if water soaks into the surface, you need to reseal. You can also get into your patio’s condition by looking at an angle—faded surface sheen points to sealer wearing away. Stamped concrete that looks off-white or slightly gray shows the sealer has worn off.
Pavers that show settlement or unevenness need attention. The mechanisms often involve drainage problems that must be fixed before repairs. Watch for pooling water, washed-out polymeric sand, or soil erosion around patio edges as signs of drainage issues.
Creating Your Outdoor Retreat
A well-laid-out patio project revolutionizes ordinary outdoor space into a valuable extension of your home. This piece walks you through each vital step—from original measurements and material selection to proper installation techniques and finishing touches. The trip from bare earth to finished patio needs careful planning, appropriate tools, and attention to detail.
Your DIY patio can last decades rather than years if you follow these guidelines. A solid foundation will prevent future settling problems. The right material selection will give your patio a perfect match to your home’s architecture.
The success of patio construction relies on preparation and execution equally. Most beginners make mistakes due to poor planning or rush through essential steps like base compaction. Taking time during installation will reward you with a stable, attractive outdoor space that handles weather changes and heavy use well.
DIY costs compared to contractor quotes show clear financial advantages. You can complete these projects at one-third the price of professional installation. This saves thousands of dollars and helps you learn valuable skills. The project ended up adding substantial value to your property while expanding your living space.
Simple maintenance routines protect your investment through the years. Regular sweeping, quick stain removal, and yearly inspections stop small issues from turning into repairs that get pricey. Take time each season to check your patio’s condition and fix problems early.
Your completed patio opens up endless possibilities through furniture, lighting, and landscaping choices. The perfect patio grows with your needs. You might start with a simple dining area and expand to cooking spaces, fire features, or shade structures. These future improvements are now both available and affordable with your new skills.
To learn more about outdoor lighting check out our latest article on The Beginner’s Guide to Outdoor Landscape Lighting.